April 22, 2009

No Scratch Mitts

so i threw together some no scratch mitts to go with the inside out socks. it wasn't too bad. i only had to frog once when i decided i didn't like the brim. at first i e-wrapped the cuff, cause i wanted it to be fluffier than the body, but it was just too loose! i had gotten as far as the eyelets and the first couple of rows of the body. so i just ripped that out and did the cuff over using the purl stitch. it matches the booties better that way, too. i was going to do a i-cord in the same color as the mitt, but i thought it would blend too much, so i did it in the mint green color i had. i think it came out pretty swell! sorry about the quality of the pics, i had to use my phone again. i keep on forgetting to charge the battery on my camera!

here a pic of the front of one mitt and the back of the other so you can see how the i-cord is woven through
Photobucket

here a pic of both mitts from the front
Photobucket

and here are the mitts with the booties
Photobucket

Bib and bootie set

my friend, who i'm making the brown and green blanket for, well, her baby shower is this Sunday! there's not way i'm gonna have that blanket done in time! so i decided to put together a few small things instead. i really don't have the money right now to but her stuff, on account of being laid off and all!

i still had those yellow inside out booties from before. i'm gonna make a pair on no-scratch mitts to go with it. so i had some cantaloupe colored fleece yarn i got from a friend. i made another pair of booties from that. i decided to try my hand at making a bib, too. i couldn't find any loom patters, so i decided to wing it. but one of the things i discovered in my bib pattern search was that bibs need to be made our of cotton (to absorb moisture) or super washed wool (to repel moisture). i had some wool yarn, but it was the thick, super bulky kind. i doubt she would want a heavy wool bib for her summer baby. but, coincidentally, i had just bought some recycled cotton yard from a woman on Etsy and it just happened to be the same cantaloupe color as the fleece yarn!!!! talk about providence!

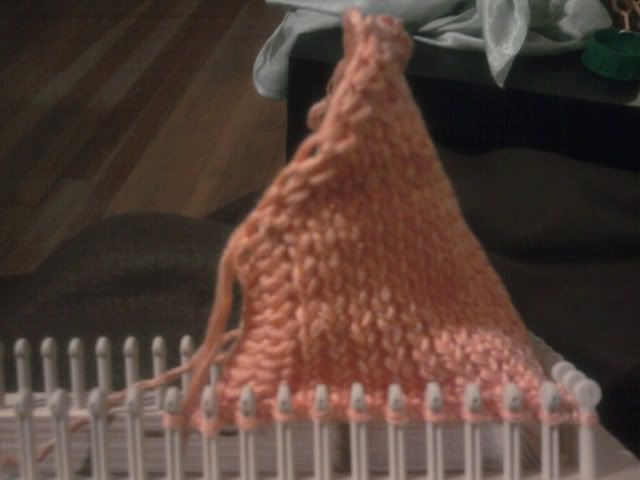
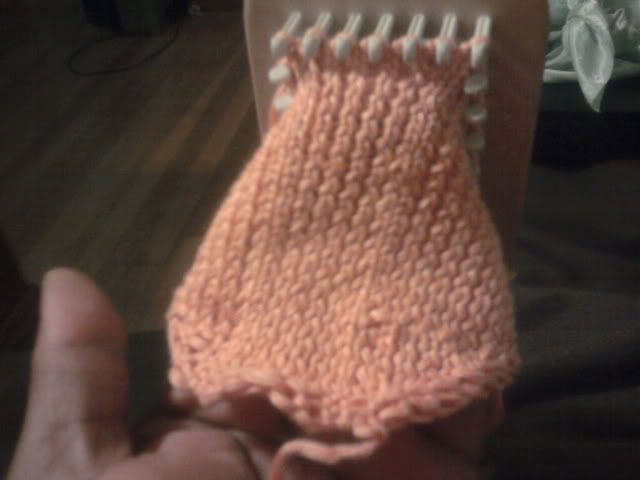
this was my first time working with cotton. it was a learning process, let me tell you! i used my fine gauge mini wonderloom. i tried the flat knit stitch. no way. it was way too tight. so then i tried to purl. that was a bit tight too, but it worked. but i ended up flipping the bib over and making the front the knit side. it has a garter stitch boarder. it looks kinda sloppy, but what are you gonna do? here are a few pics of it one the loom.
Photobucket

Photobucket

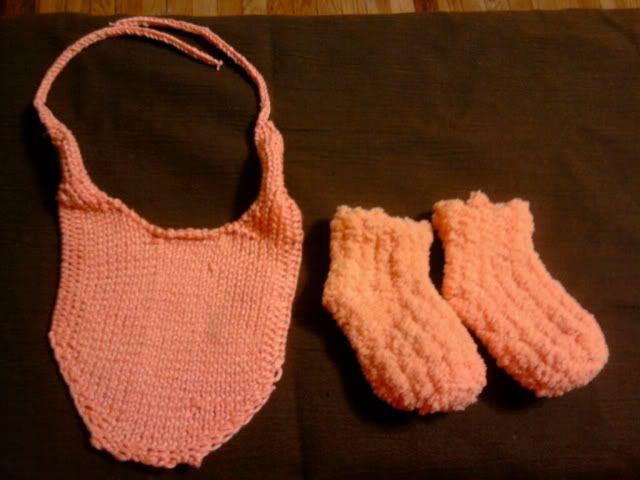
i sort of made the top up as i went along. of course i didn't take notes, so the sides aren't perfectly symmetrical, but i like it. one one side, i tried to make the ties sorta curve back inwards, but i just ended up making a mess of stitches. not something i think my friend will notice too much, but i see it! oh well. all in all, for my first try, i'm very satisfied.

i might try to squeeze in another hat or two to round it off. we'll see.

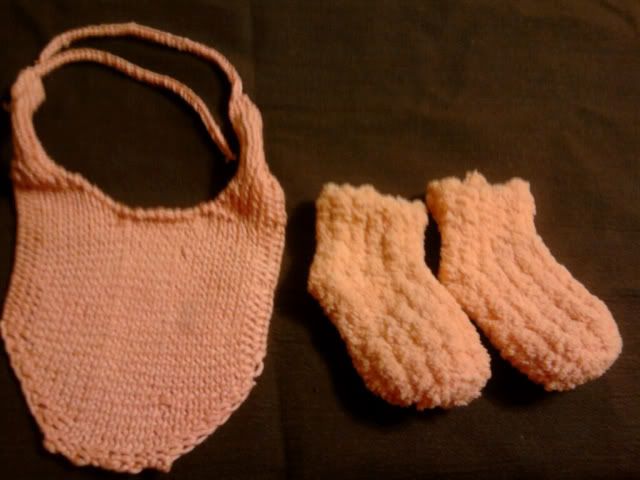
here are a couple of pics of the bib and bootie set. i tried different filters on my camera phone to capture the true color.
Photobucket

Photobucket

April 21, 2009

Blanket Progress

i've been working off and on on the brown and green blanket for my friend. i was working on the brown panel and eye balling the length compared to the green panel. it kept on coming up short. finally, i was just tired of doing the same stitch over and over for days and i decided to start the seaming while the brown panel was still on the loom. turns out, the brown panel was waaaaaaaay longer than the green, like over 40 rows longer!! so i sat for an hour or so and tinked the stitches, but i was getting nowhere. so i decided to just grab a section a couple of inches down and force those stitches back on the loom. i knew i wasn't going to get the right loop back on, but i figured it was worth a try. it was incredibly hard! for starters, the panel is flat knit stitched. so trying to stretch that panel back out to fit on the loops was a B&*$H!!!! pardon my french. and then, as i started to unravel the stitches, i realized that i put the other stitches back on totally lopsided! so i ended up having to unravel a few, and then tink 20, next row unravel a few, tink 19. it took FOREVER!!!! in the end there's a weird looking row and you can clearly see a mistake, but i really don't care anymore! i did it! i actually ended up unraveling too much and i had to knit another 13 rows or so.

the seaming was a bit problematic, but not too bad. first i tried the i-cord seam from the GettinItPegged site, but that was totally not working! it looked nothing like Bethany's work. then i tried to crochet them together. i know almost nothing about crocheting other than how to do a chain, but i figured it would be like doing a chain through two stitches. that was a no go. so i just decided to mattress seam them together. but i think i missed the first stitch cause i didn't do a slipped stitch edge, but its okay. the seam looks very neat, so i'm happy with it.

here are some pics of the blanket so far. here's the width. the sides curl cause its all knit stitched. i'm gonna make the outside panels have a garter stitch boarder.
Photobucket


here's the length
Photobucket


and here's a pic of the seaming
Photobucket

like i said, i'm doing the outer panels in a garter stitch. i'm also doing them on the green loom instead of the blue one. the stitches are a little wider, but thats okay.