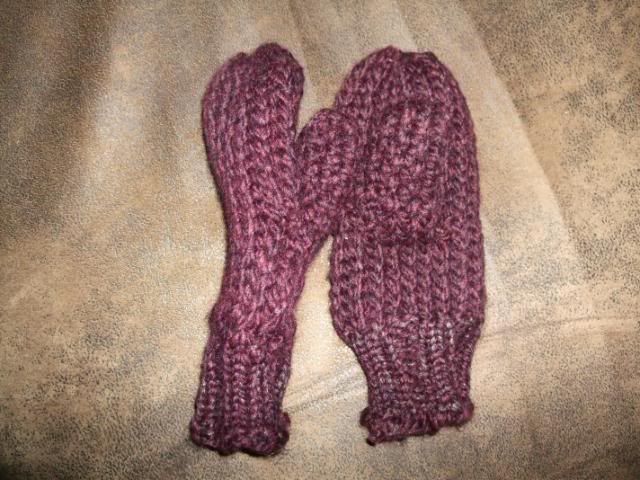
Mittens:
yarn- Lion's Brand Wool Ease Think & Quick in claret, small amount of Bernat Shimmer in brown for the cuff
loom- ITA mitten loom
stitches- rib stitch K2 P2, 2 over 1 e-wrap, 1 over 1 e-wrap.
this is basically the one loomed mitten design found here. i just did a ribbed cuff instead of the brim. and i adjusted the numbers slightly because the yarn was so thick. i used one skein of Thick & Quick to make both mittens. i used the rib stitch, K2 P2, to make the cuff. but the loom is 18 pegs, so at one point, you're gonna have to K4. the cuff is worked holding one strand of the claret and one strand of the shimmer in brown. i think i did this for about 12 rows. (i actually had notes written up so i could make the mittens symmetrical, but i lost them!! ARG!) then i dropped the Shimmer yarn and just used the claret and began doing a 2 over 1 stitch. this was a little hard on the fingers, but i wanted the mitten to be really thick and warm. you do about 7 rows, and then begin the flat panel for the thumb.
knit pegs 1-5,then turn back and knit pegs 6-2 for 25 rows.
you slipped the first stitch as you went back and forth to make a nice almost braided looking edge which is easier to seam up afterwards. i did the thumb with a regular 1 over 1 e-wrap.
began to knit in the round, going back to 2 over 1, until the mitten is the appropriate length. i can't for the life of me remember how many rows that was. i just stuck my hand in the mitten to gauge the size. then i did a little decrease to make the top not so bulky.
i moved stitches 1, 5, 10, and 15 to the pegs to the right of them and knit off.
then i did a gathered bind off. seam up the thumb and the mittens all done!
The Scarf:
well, the scarf was knit off the top of my head, making it up as i went along. just a warning, i'm not a pattern writer. these directions are crappy, but i'll go back later and spruce them up. here's the details:
yarn- 1 skein Lion Brand Wool Ease Thick & Quick in claret, 1 skein of the same in black.
loom- yellow knifty knitter long loom (38 pegs)
stitches- figure 8 stitch, flat panel e-wrap
i began by casting on the fist 15 pairs of pegs using the figure 8 stitch. i used stitch markers to mark all 30 stitches of the first row. i did not use the end pegs at all. after about 5 inches or so, i realized the hood wasn't going to be deep enough if i didn't make it wider, so i began to increase, one pair at a time.
so, as i wrapped my way back up the pegs, when i got to the 15th pair, i also wrapped the 16th pair twice, still using the figure 8 stitch, so i got two rows of stitches on the pegs. now i'm using 16 pairs of pegs. i knit for 4 rows, then i increases another pair. knit another 4 rows. i continued this till all the pegs (except the end pegs) were wrapped. i knit until i had about 10 inches of material the width of the entire loom.
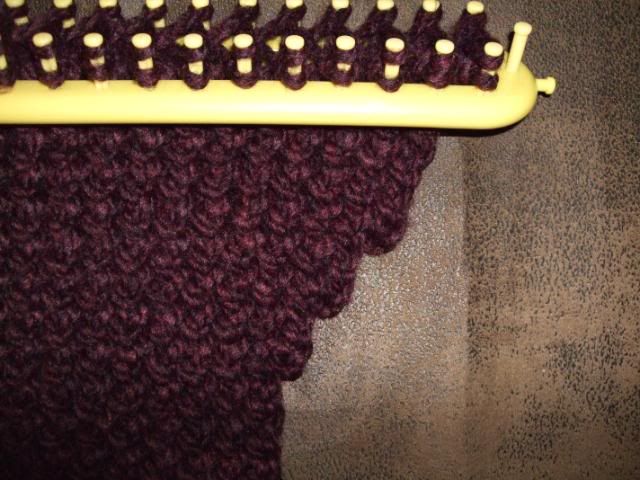
then i began the decrease. now, i did this wrong, but i'll tell you guys the correct way. so, you're at the 18th pair. you take the loop from the 17th pair, bring them over onto the 18th pegs and knit off. then move the loops from the 18th pegs and put them on the empty 17th pegs. knit four rows. decrease again and knit four rows. do this until you're back down to 15 pegs. knit until you have another 5 inches or so, or until its even, meaning if you folded the hood part in half to knit the seam, the increases and decreases line up and the sides are the same length. by this time, i only had about 18 inches of yarn left over. i left this as i planned to use it to seam up the hood later. now its time to introduce the black yarn. you should have 1 row wrapped on the loom. wrap a row of black over that and knit off.
i did 8 rows of black, then i began the decrease. decrease one pair of pegs. knit four rows. decrease another pair. knit four rows. do this until you are using 9 pairs of pegs. knit 4 more rows.
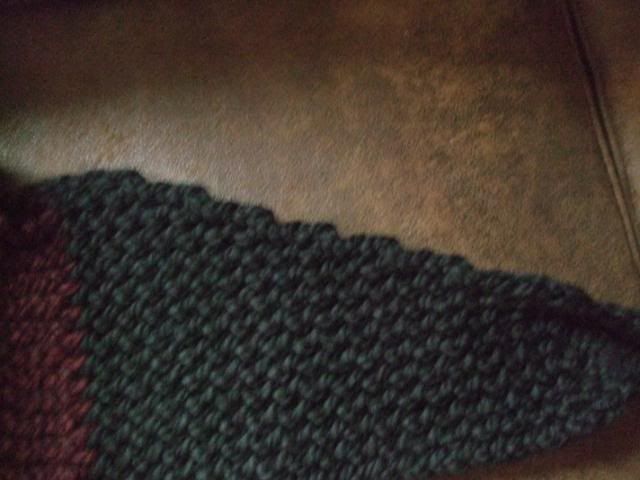
now its times to make the double panel a single panel.
alright, so you have nine pairs of pegs being used, numbered 1-9 from left to right on rows 1 and 2. you're going to criss-cross the pegs as you combine them to get a nice even spaced holey design.
so, you take the loop from peg 8 on row 1 and place it on peg nine on row 2. take the loop from peg 9 on row 1 and place it on peg 8 on row 2. knit off.
loop 6 row 1 goes onto peg 7 row 2, loop 7 row 1 goes on peg 6 row 2. knit off
loop 4 row 1 goes onto peg 5 row 2, loop 5 row 1 goes on peg 4 row 2. knit off
loop 2 row 1 goes onto peg 3 row 2, loop 3 row 1 goes onto peg 2 row 2. knit off
loop 1 row 1 goes onto loop 2 row 2. knit off
now you have nine pegs one 1 side of the loom and you can begin to knit a flat panel using the e-wrap. i knit till the piece was about 7 inches. this part curls up on itself and makes a nice tube like ending.
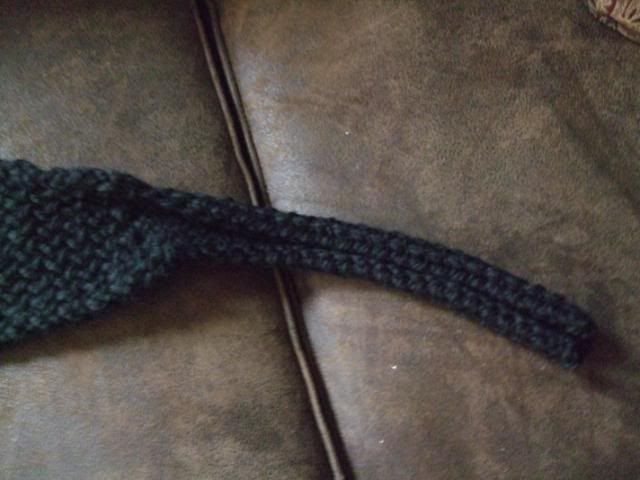
switch the piece around and put the other end of the hood back on the loom and repeat with the black yarn. Ta-Da!!
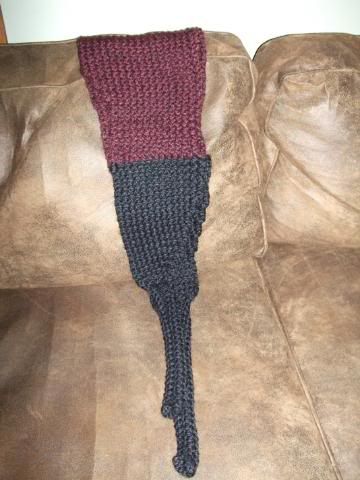
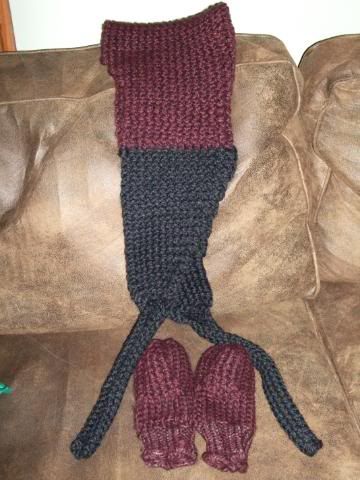
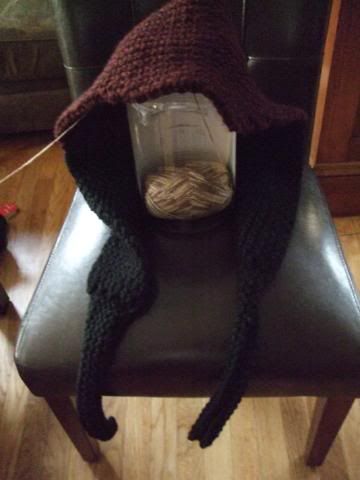
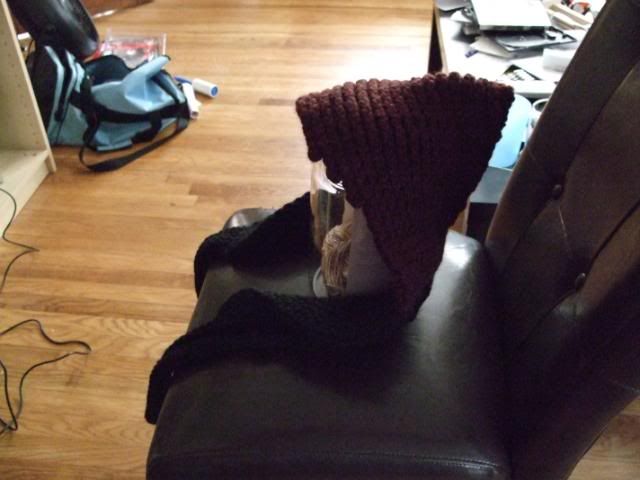
i know, i know, that was terrible directions! i promise, i will re-do this later, with accurate numbers, and maybe a video or two to illustrate my point, in about a month or so. i just really need to finish up on this never-ending blanket and sock and maybe make a baby cocoon. and then i'll re-do this properly. but i have to get this down or else i'll forget what i did.
2 comments:
What's up Dear, are you really visiting this website regularly, if so afterward you will absolutely obtain nice knowledge.
Also visit my web-site; modern war cheats ()
Last, arrangements on how the BI applications should be implemented
or deployed are clearly mapped out by way of a training
plan. Do not forget to visit the Exbury Gardens, Hurst Castle, Beaulieu,
Bucklers Hard and the New Forest Wildlife Centre. While some people may need a Toronto self storage warehouse for a
single day, some other may need it for a month or even a year.
Here is my web blog โกดัง, hpcgi2.nifty.Com,
Post a Comment